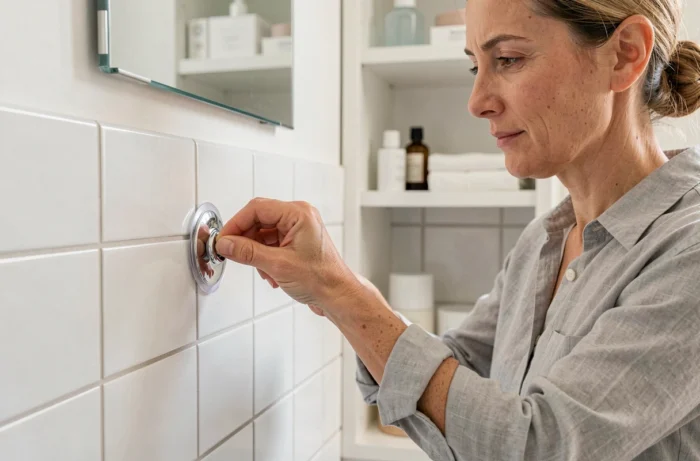
You’ve just placed a pretty soap dish on the shower tiles, and two hours later, it’s lying at the bottom of the shower tray with everything in it. The suction cup has come loose. The obvious reaction would be to grab a drill, but on tiled walls, a poorly placed hole can crack the entire tile. You can attach bathroom accessories without drilling, as long as you understand what really makes a suction cup stick to tile.
What happens under a suction cup when you press it on
A suction cup works by creating a pressure difference. When you press it against a smooth surface, you push out the air trapped between the rubber and the tile. The outside atmospheric pressure then holds the suction cup in place.
It’s a simple principle, but it comes with one strict requirement: the seal between the suction cup and the surface must be airtight. Even the tiniest amount of air getting in reduces the pressure difference and causes the suction cup to come loose.
That’s why a suction cup for tile won’t hold equally well on every surface. A glossy, perfectly flat tile creates an airtight seal. A textured, matte, or slightly curved tile lets air through its microscopic bumps and grooves.
Before buying anything, run your finger over the tile you have in mind. If you can feel a grainy texture, ridges, or a decorative pattern, a standard suction cup won’t stay put for long. The same goes if the edge of the suction cup overlaps a grout line: the grout creates an air channel that breaks the seal.
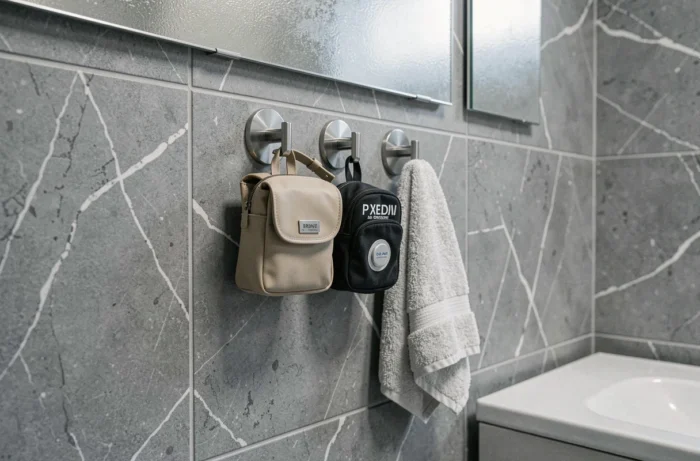
Prepare the tile before installing a suction cup
Most failures aren’t caused by the suction cup itself, but by the surface. A film of soap, limescale, or grease is enough to prevent it from sticking. Preparation takes two minutes and makes all the difference.
Clean and degrease the tile
Use a standard degreaser (dish soap, diluted white vinegar, or glass cleaner). Scrub the area with a lint-free cloth. Rinse with clean water to remove any product residue, then dry it completely with a clean cloth or paper towel.
Contrary to popular belief, residual moisture doesn’t help a suction cup stick. A film of water may make it easier to install at first by helping push out the air, but over time, the water evaporates and creates air pockets. It’s best to install it on a clean, dry surface.
Check that the area is flat and smooth
Place the suction cup flat against the tile without pressing down. If it sits fully on the surface without rocking, the spot is suitable. Also check that the suction cup doesn’t extend over a grout line. The entire diameter of the suction cup must fit on a single tile.
How to improve suction on smooth tile
On a smooth, well-prepared tile, a few simple steps can significantly improve how long the suction cup stays in place.
- Press firmly and evenly on the center of the suction cup for several seconds. The aim is to push as much air as possible out from under the rubber.
- If your suction cup has a lever or screw mechanism, tighten it only after pressing the base firmly against the surface. The lever compresses the suction cup and strengthens the suction.
- Wait before loading the accessory. Leave the suction cup in place without any weight for a few hours. This lets you check that it’s secure and spot any slow slipping.
- Test the load gradually. Start with a lightweight item, then increase the weight. A suction cup should never be used daily with a load close to its stated limit.
Some newer models have a visual indicator (a colored dot that changes from green to red) to signal a loss of adhesion. This indicator can help you anticipate the suction cup coming loose, but it’s no absolute guarantee: it responds to residual pressure, not tiny leaks around the edges.
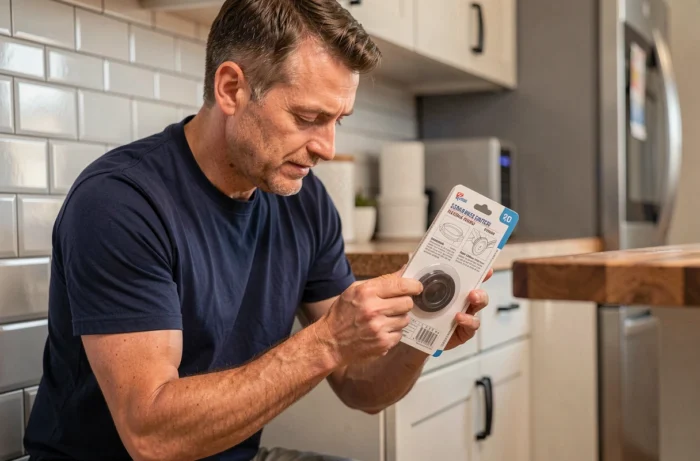
Suction cup, adhesive, or mounting glue: which no-drill fixing should you choose?
A suction cup isn’t the only way to attach an accessory without drilling. There are two other options, and each suits different needs.
Heavy-duty double-sided adhesive sticks the accessory directly to the tile. It generally supports more weight than a suction cup, but removing it can leave sticky residue or, on older tiles, pull off a piece of the finish. It’s a semi-permanent fixing.
Mounting glue (such as polymer sealant) provides the strongest hold of all no-drill options. It’s suitable for heavy accessories, such as a loaded towel rail. However, removing it requires a utility knife and a suitable solvent, and it often leaves a mark.
A suction cup, on the other hand, can be removed and repositioned without leaving a mark. That’s its main advantage for renters or anyone who often rearranges their bathroom. However, it’s limited to smooth surfaces and moderate loads.
Choose based on use and load
- Soap dish, small storage basket, washcloth hook: a suction cup is enough on smooth tile.
- Soap dispenser, showerhead holder: heavy-duty adhesive offers greater stability.
- Towel rail, shelf loaded with bottles: mounting glue is a better choice.
One important point: a suction cup or adhesive is no substitute for a mechanical fixing when you need something to support your weight. If you need a grab bar to help you stand up or prevent a fall in the shower, only a fixing screwed into the wall (not just into the tile) can provide the necessary strength.
Care and lifespan of a bathroom suction cup
The rubber or silicone in a suction cup deteriorates over time. Exposure to heat, cleaning products, and limescale makes the material stiff, reducing its ability to conform to the tile’s surface.
Remove the suction cup about once a month, clean the contact surface with warm water and mild soap, then put it back in place. This simple step restores the seal. If the suction cup starts slipping even after cleaning, the material has hardened and it’s time to replace it.
Attaching bathroom accessories without drilling into tile works well, as long as you respect the limitations of each option. Suction cups are the most convenient choice for lightweight, removable items. For everything else, adhesive and mounting glue can do the job without bringing out the drill.