
DIY at home covers all hands-on tasks carried out without calling in a professional: fixing a tap, putting up a shelf, freshening up a wall or making a piece of wooden furniture. The success of a DIY project depends less on natural talent than on careful technical preparation. Choosing the right materials, securing the work area and planning for critical steps can make the difference between a neat result and a project abandoned halfway through.
Prepare the work area before picking up a tool
Most DIY mistakes happen before the drill even comes out. A cluttered work surface, slippery floor or poor lighting can turn a simple task into a source of frustration—or even an accident.
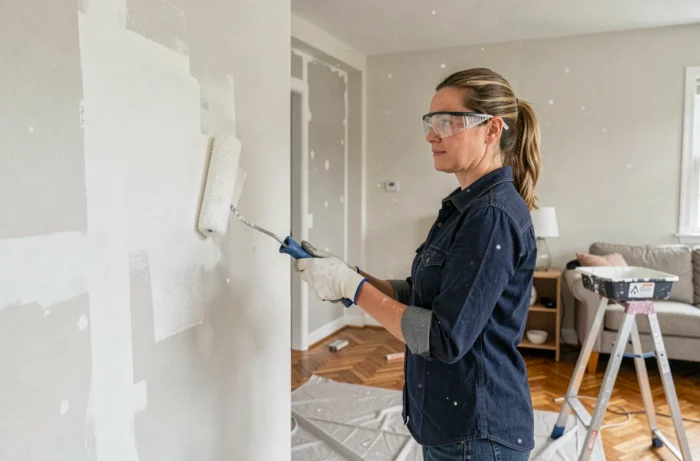
The first step is to clear the entire area. When painting a wall, this means moving furniture at least one metre away, covering the floor with a dust sheet and removing electrical outlet covers. For a woodworking project, a stable, well-lit workbench secured to the floor (or weighted down) prevents unwanted vibrations that can throw off your cuts.
A clear workspace reduces the risk of accidents and improves accuracy. The EPAC hospital network regularly records DIY-related injuries at its participating facilities. Common causes include objects left on the floor, poorly stored tools and awkward working positions. Preparing the area is part of the job.
The resources shared on bricoleurs.net include guides by project type, helping you plan the right protective equipment before you get started.
DIY materials: choose based on the project, not the price
Particleboard is no substitute for plywood when making a shelf that needs to hold books. Standard filler is not suitable for a crack in an exterior wall. Every material has specific mechanical properties that determine how well it will hold up over time.
Beginners often reach for the cheapest product or the one that stands out most on the shelf. A better approach is to read the technical specifications, paying particular attention to three details: load capacity (for wood and fixings), drying time (for adhesives, fillers and paints) and suitability for the surface (interior, exterior or damp conditions).
Choosing wood for DIY projects
Wood remains the most widely used material for home projects, from shelves to custom furniture. Three types cover most everyday needs:
- Pine (soft, easy to work with, suitable for painted or varnished indoor furniture)
- Oak (hard, durable, suitable for worktops and heavily used items)
- Birch plywood (stable, lightweight, ideal for furniture backs and cabinet carcasses)
For outdoor projects (decks, planters), choose wood rated at least Class 3, either pressure-treated or naturally resistant to moisture. Using untreated pine for a deck means it will need replacing within two years.
Reusing materials: check them before salvaging
ADEME notes that the reuse of construction materials remains very limited in France, despite the broader growth of the circular economy. Salvaging boards, tiles or wood offcuts can be worthwhile, provided you check their condition first. Warped wood, a hairline-cracked tile or expired filler can cause more problems than they solve.
Before reusing a material, check that it is level (with a spirit level), test its moisture content (using a moisture meter, available for just a few euros) and look for signs of mould or questionable chemical treatment.
DIY safety: protective gear beginners often forget
Safety glasses, suitable gloves and closed-toe shoes are the bare minimum for any project involving cutting, drilling or painting. People often skip this trio for “small jobs”, even though it is precisely during quick tasks that they tend to let their guard down.
Hearing protection is essential when using a hammer drill. The noise regularly exceeds comfortable levels, and repeated use without protection can contribute to cumulative hearing fatigue.
When painting or varnishing indoors, a cartridge respirator (A2P2 type) protects against volatile solvents far better than a simple paper mask. Acrylic paints release fewer volatile organic compounds than alkyd paints, but proper ventilation is still necessary in both cases.
- Drill, saw, angle grinder: safety glasses are essential; earplugs are recommended
- Paint, varnish, paint stripper: cartridge respirator, nitrile gloves and ventilation during and after use
- Working at height (even on a stepladder): non-slip shoes; never use a stool or office chair
- Electrical work: switch off the breaker for the relevant circuit and use a voltage tester to confirm the power is off
DIY tools: build a practical toolkit, not an exhaustive one
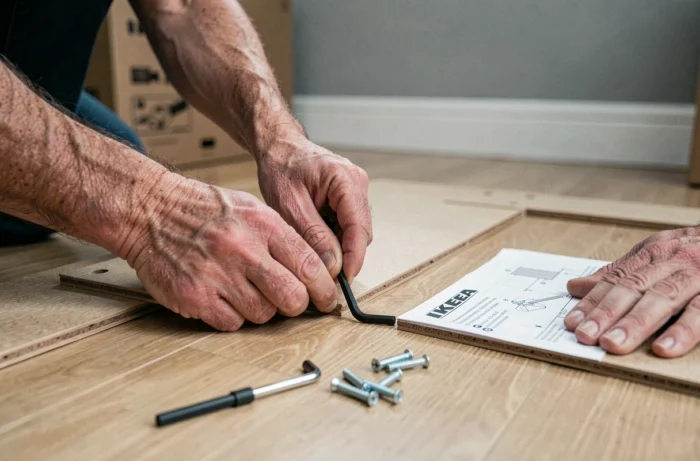
“200-piece” tool kits sold in big-box stores often contain unnecessary duplicates and poorly made tools. Five good-quality tools are enough for most home projects: a 5 m tape measure, a spirit level, a cordless drill-driver, a set of flathead and Phillips screwdrivers, and adjustable pliers.
A cordless drill-driver is the first major investment. For everyday home use, an 18 V model with at least two batteries provides enough power to switch between drilling and driving without interruption. Torque, measured in newton-metres, determines how well the tool can drive screws into hardwood or drill into lightweight concrete.
Add tools as needed for specific projects: a jigsaw for cutting wood, a precision utility knife for flexible materials and a hot glue gun for home improvement and interior decorating. Buying tools as you need them prevents a build-up of items you never use.
Storage is another often-overlooked consideration. A tool left at the bottom of a box can get damaged, go missing and eventually need replacing. A wall-mounted pegboard or drawer tool chest keeps every tool visible and within reach, cutting down on setup time for each new project.